Bottom Bracket Installation

Many road and mountain bike manufacturers have gone to a "press fit" or "drop in" style bearing for their carbon or aluminum frames for various reasons including perceived stiffness (pie charts and line graphs), proprietary design (to keep you using one crankset), and cost savings in manufacturing (no need for thread tooling!). The two most common issues associated with this "new" style is creaking and shell sleeves delaminating from the frame (this ruins the frame). The last thing I want on a tour is to hear a creak going through my mind when I'm trying to get 40 winks after a several days worth of riding.

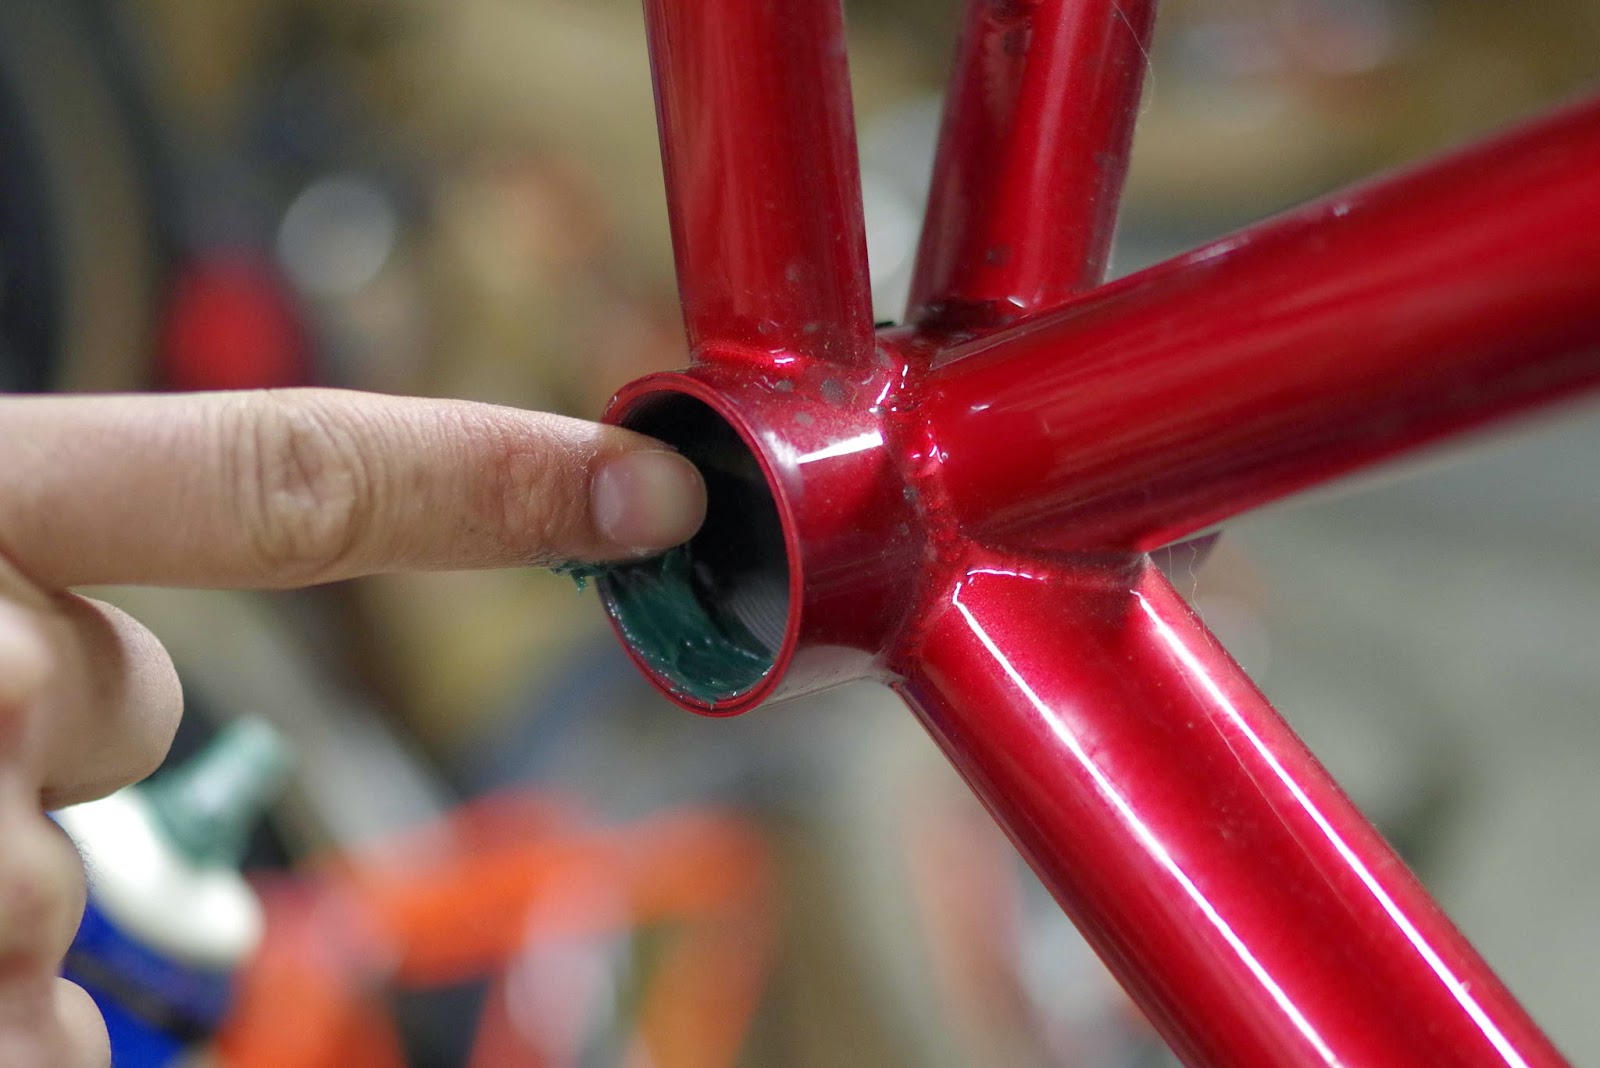
As mentioned in a previous post, all of our frames come prepped from the factory. The bottom bracket shell has been faced (flanges are on parallel planes) and the threads have minimal (if any) overspray. Run your finger along both flanges of the shell to confirm that there is no dust or contaminants. If you find something, a bit of fine sandpaper can knock it off.


Put a good sized dab of lube on both the drive and non-drive side threads of the shell and spread it on. Do the same for both bottom bracket cups.

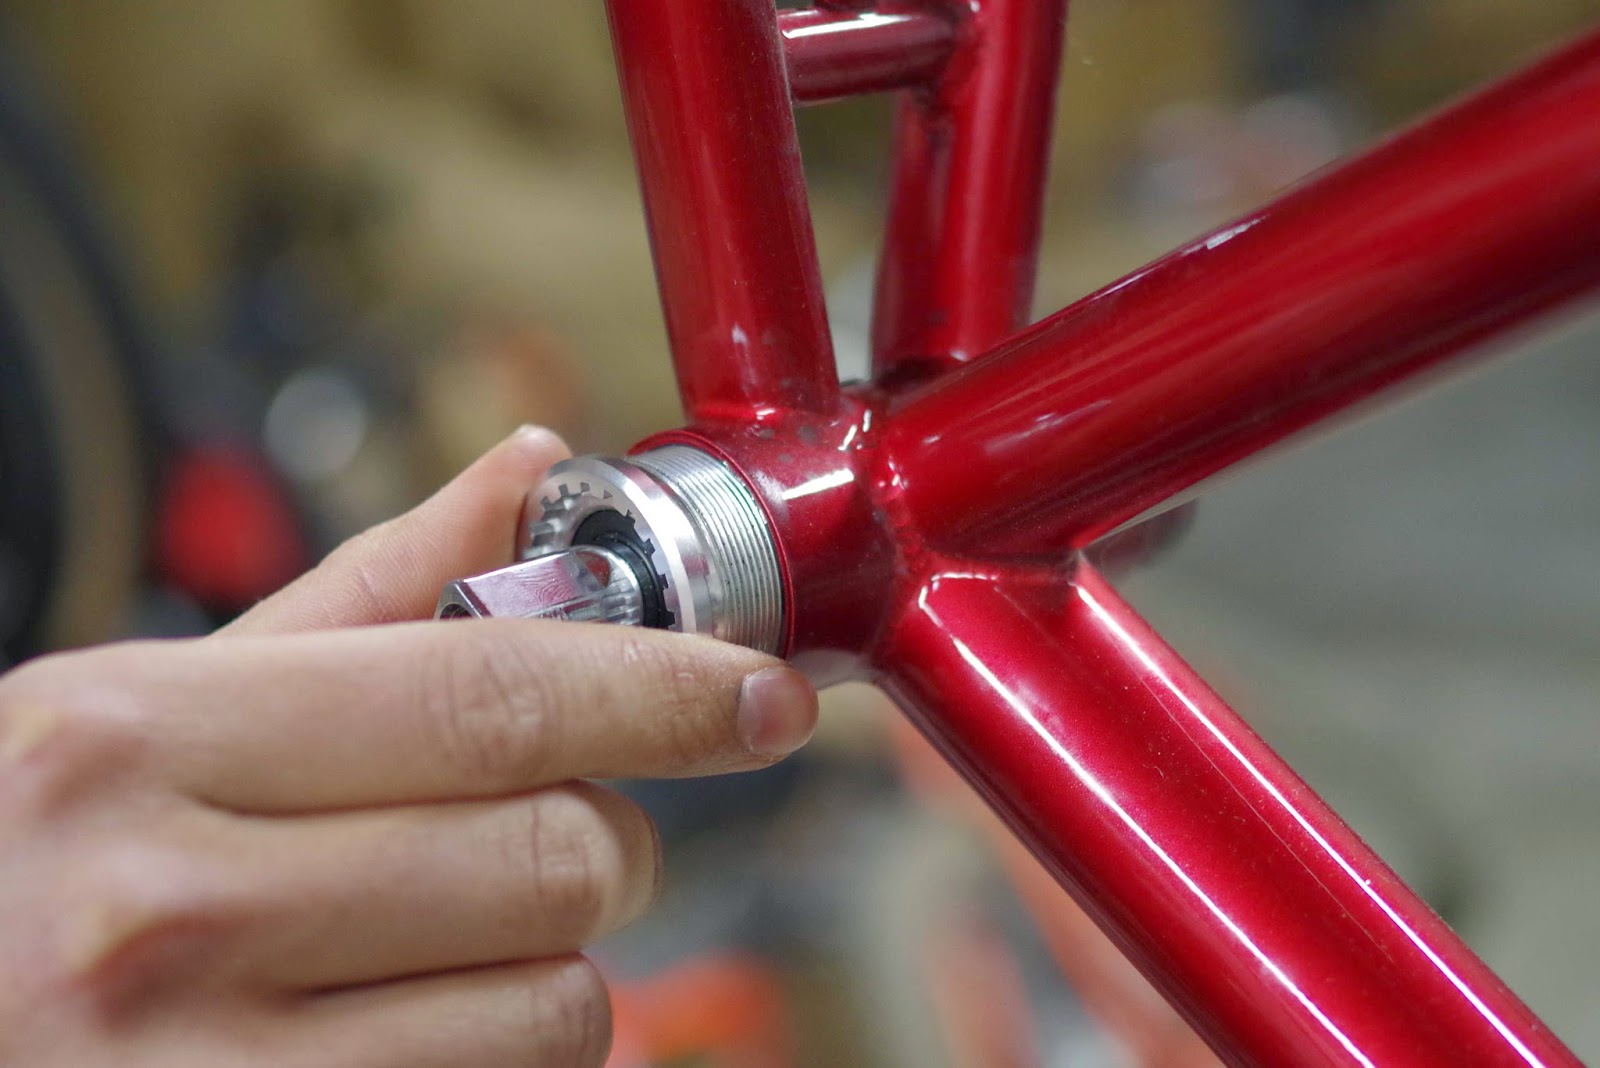
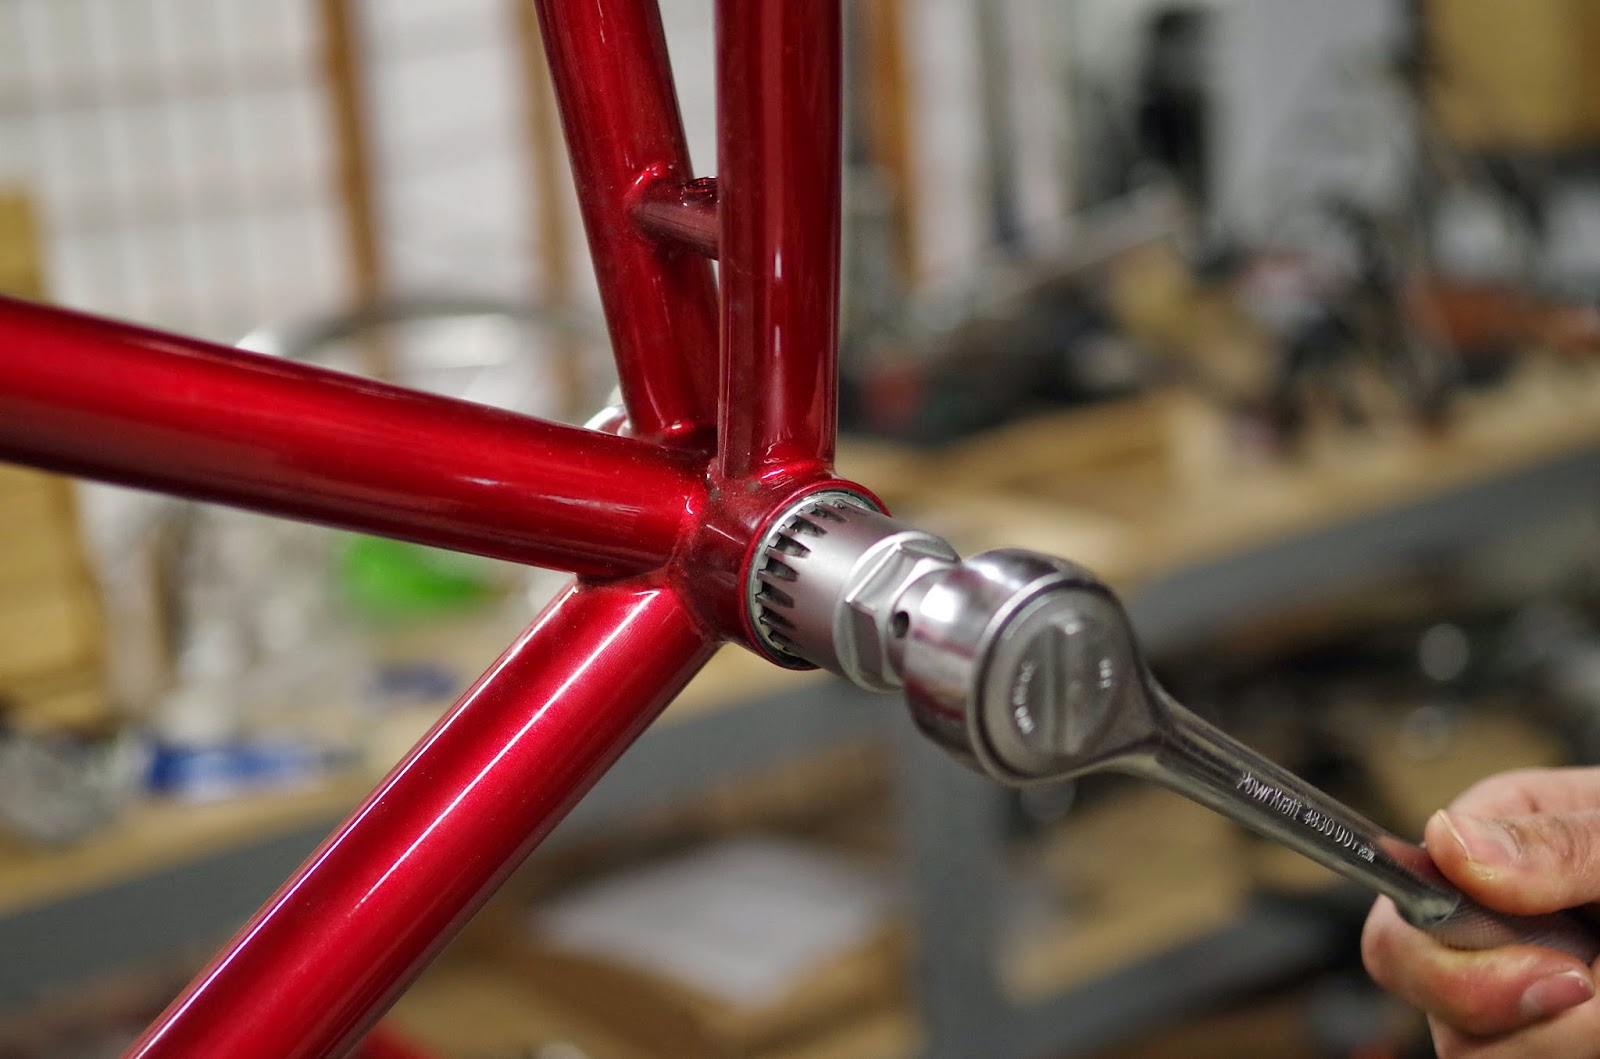
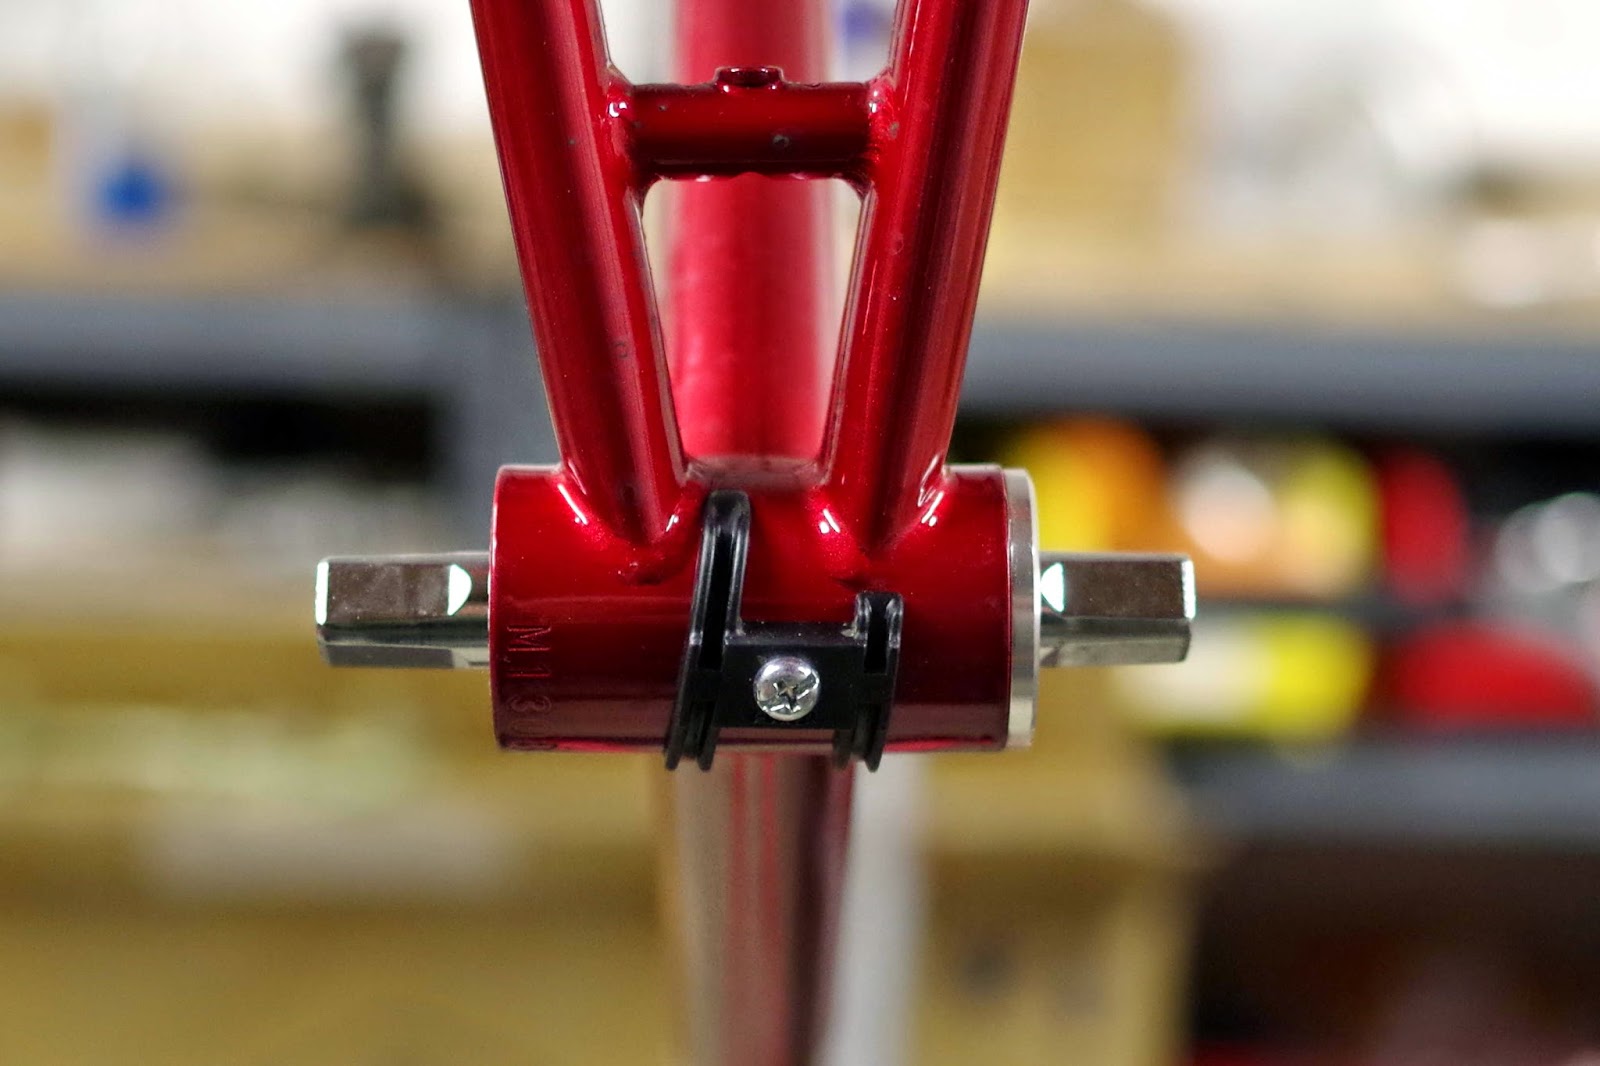
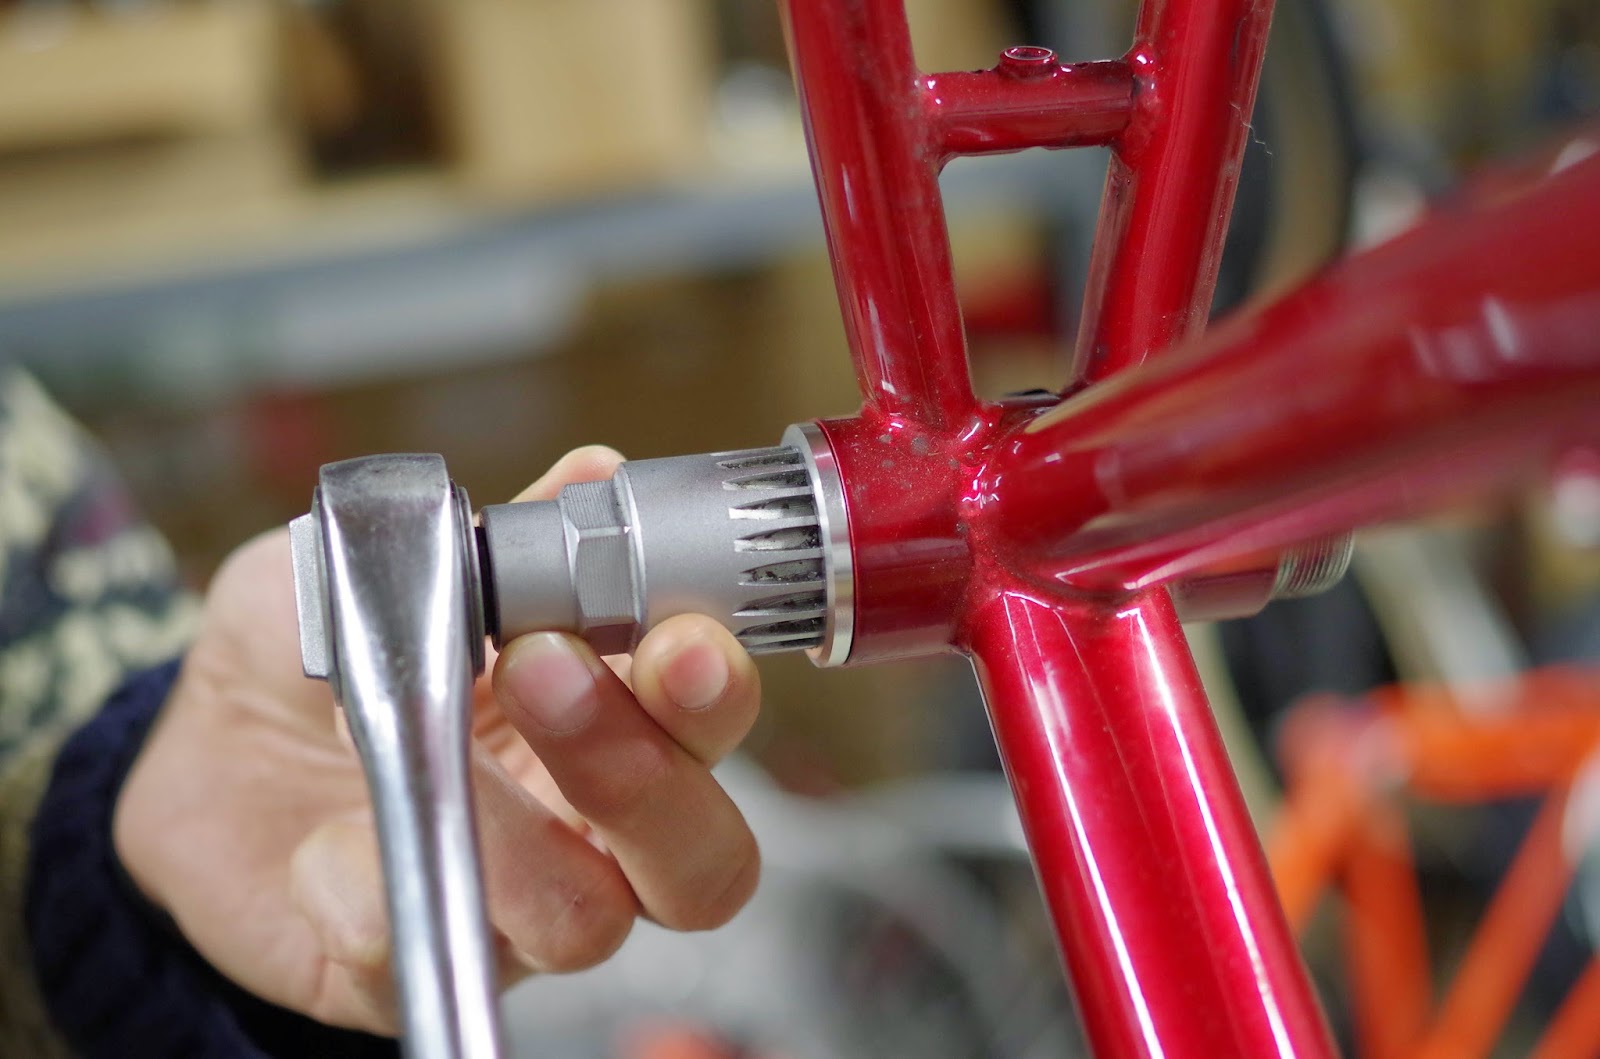
For normal English threaded bottom brackets, (when looking at the flange from their respective sides) the drive side screws in counter clockwise (left threaded) and the non-drive side screws in clockwise (right threaded). I install the non-drive side a couple turns first then install the drive side.
Note: If you have something besides English threading, check Sheldon Brown's cribsheet for your threading and compatibility: http://sheldonbrown.com/cribsheet-bottombrackets.html